
How to Paint an Easy Celebration Plate with Glaze
Project Overview: An easy, festive way to paint a celebratory confetti plate with minimal artistic skills required! Perfect for kids, adults, and seniors alike. Learn how to glaze a custom ceramic plate at a pottery studio or from the comfort of home using a simple swab technique.
Looking for a fun, foolproof pottery project?
This DIY painted ceramic confetti plate is one of the easiest ways to create custom tableware that looks bright, festive, and completely professional.
Whether you are painting at a local pottery studio like Color Me Mine or working on your own project at home, this simple technique guarantees fantastic results 🎉.
Festive Flair for Special Celebrations 🥳
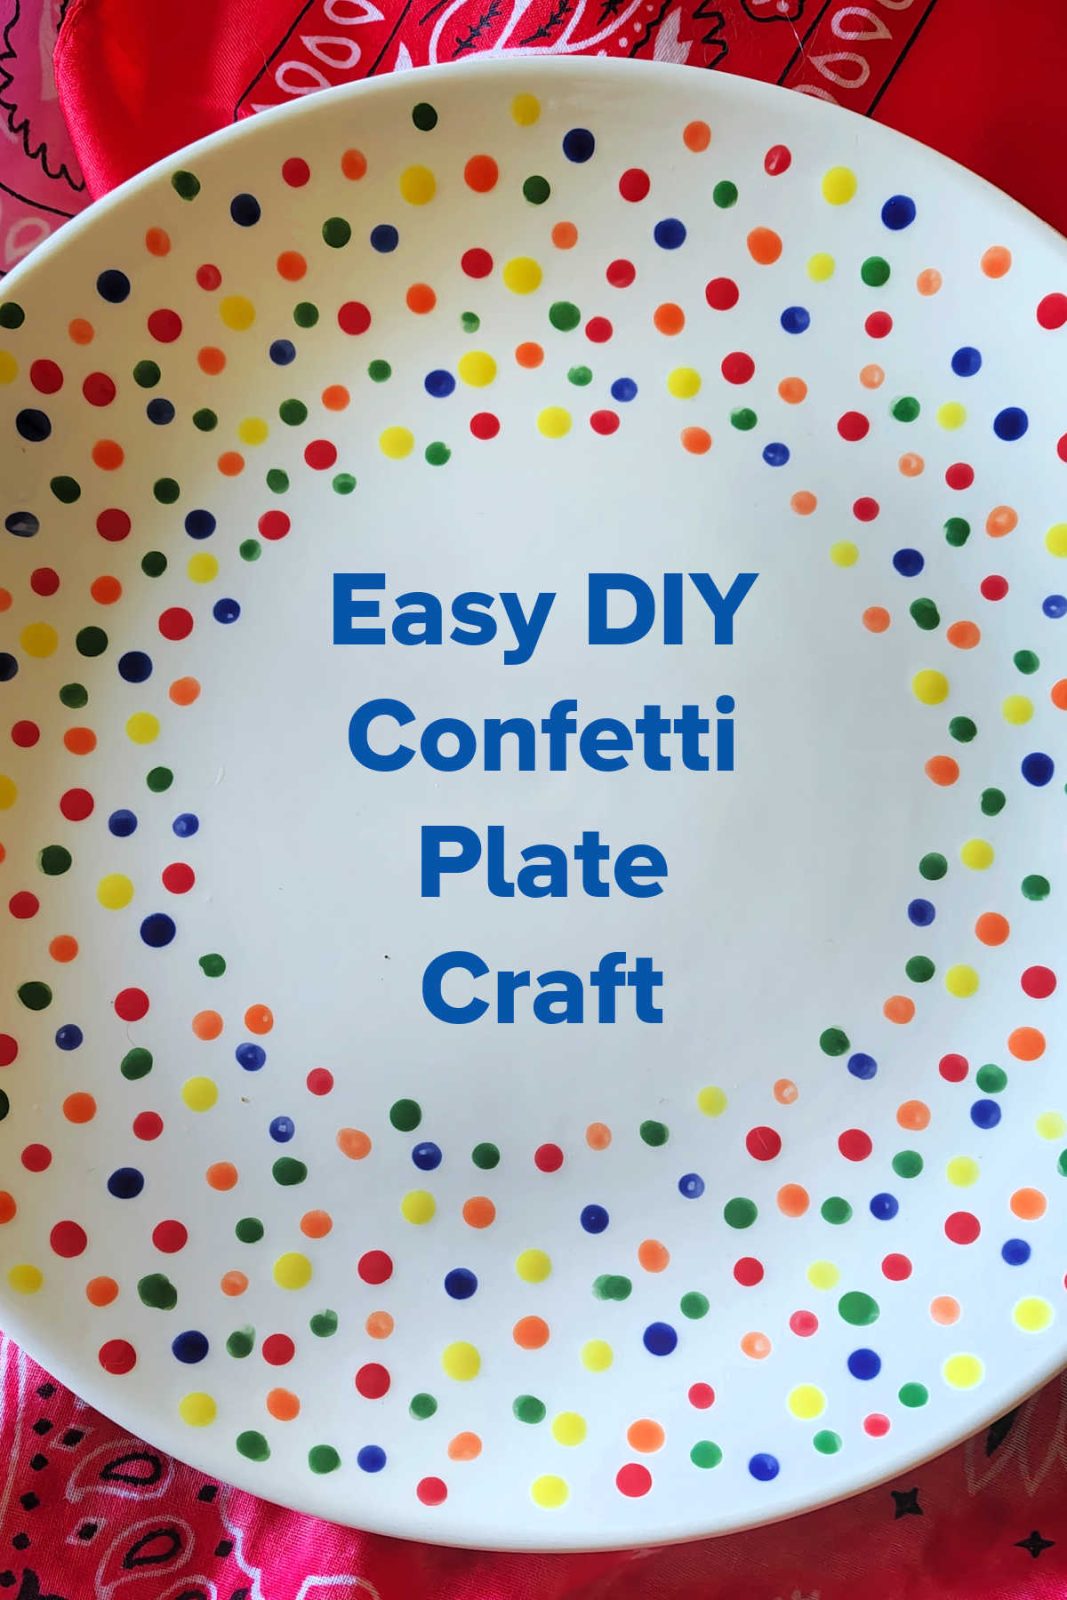
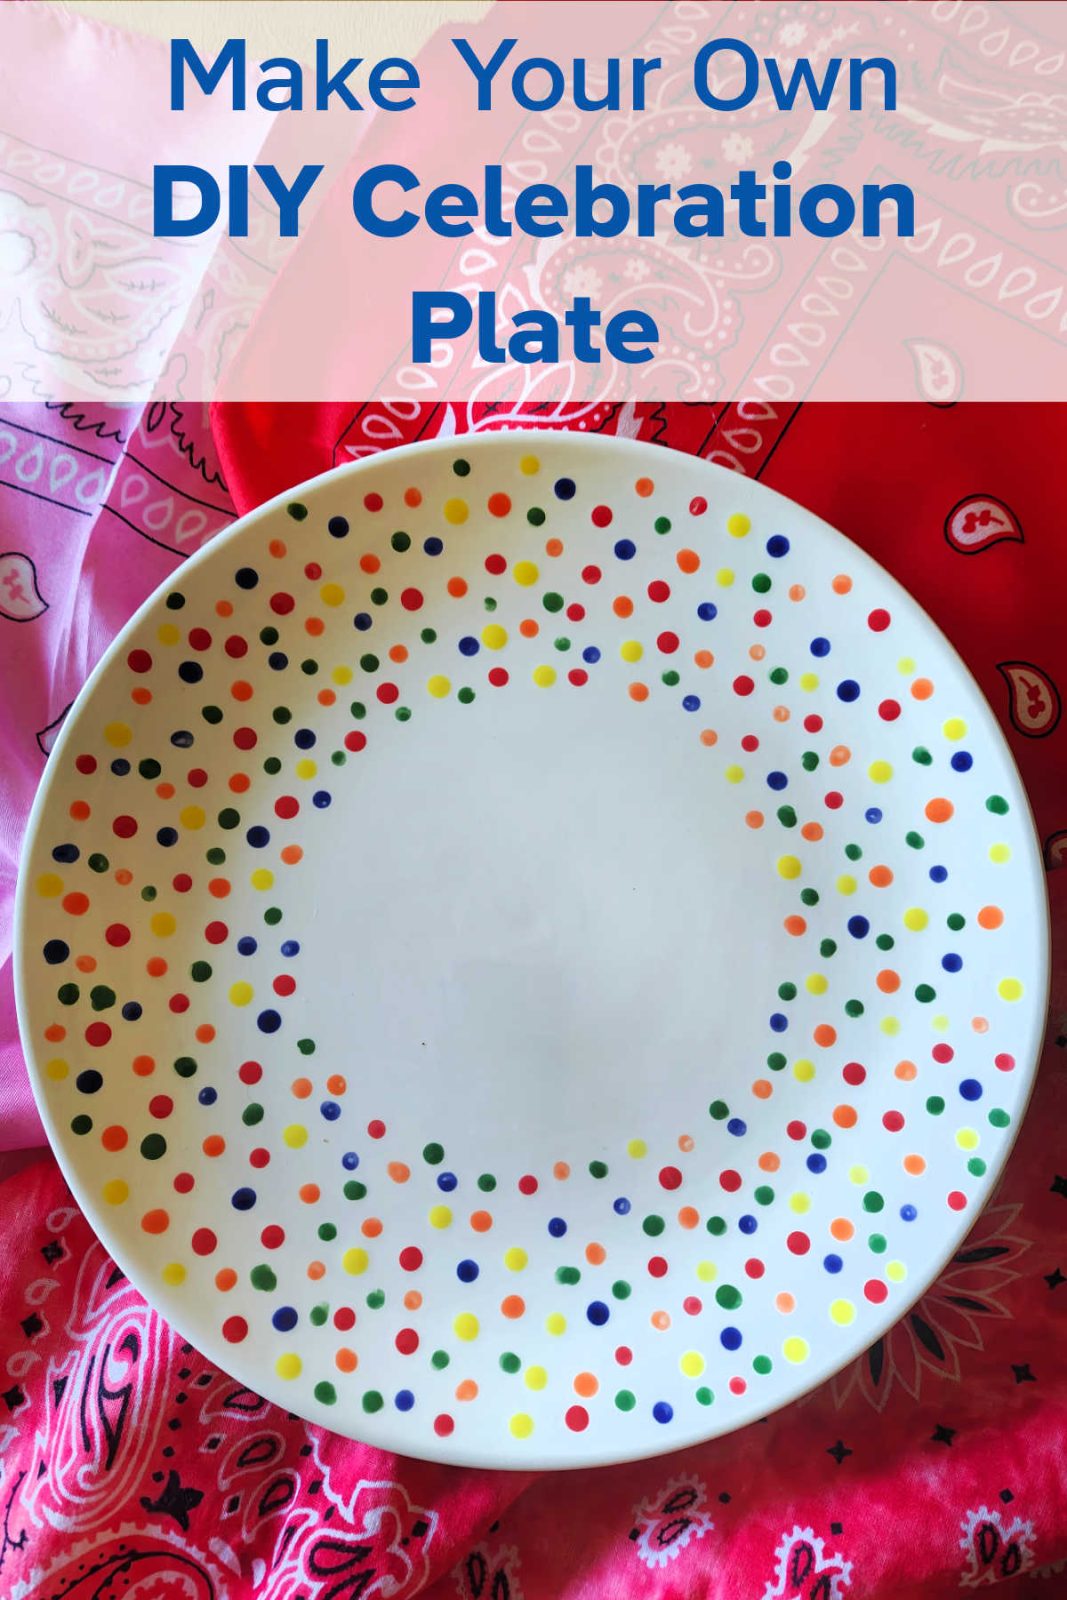
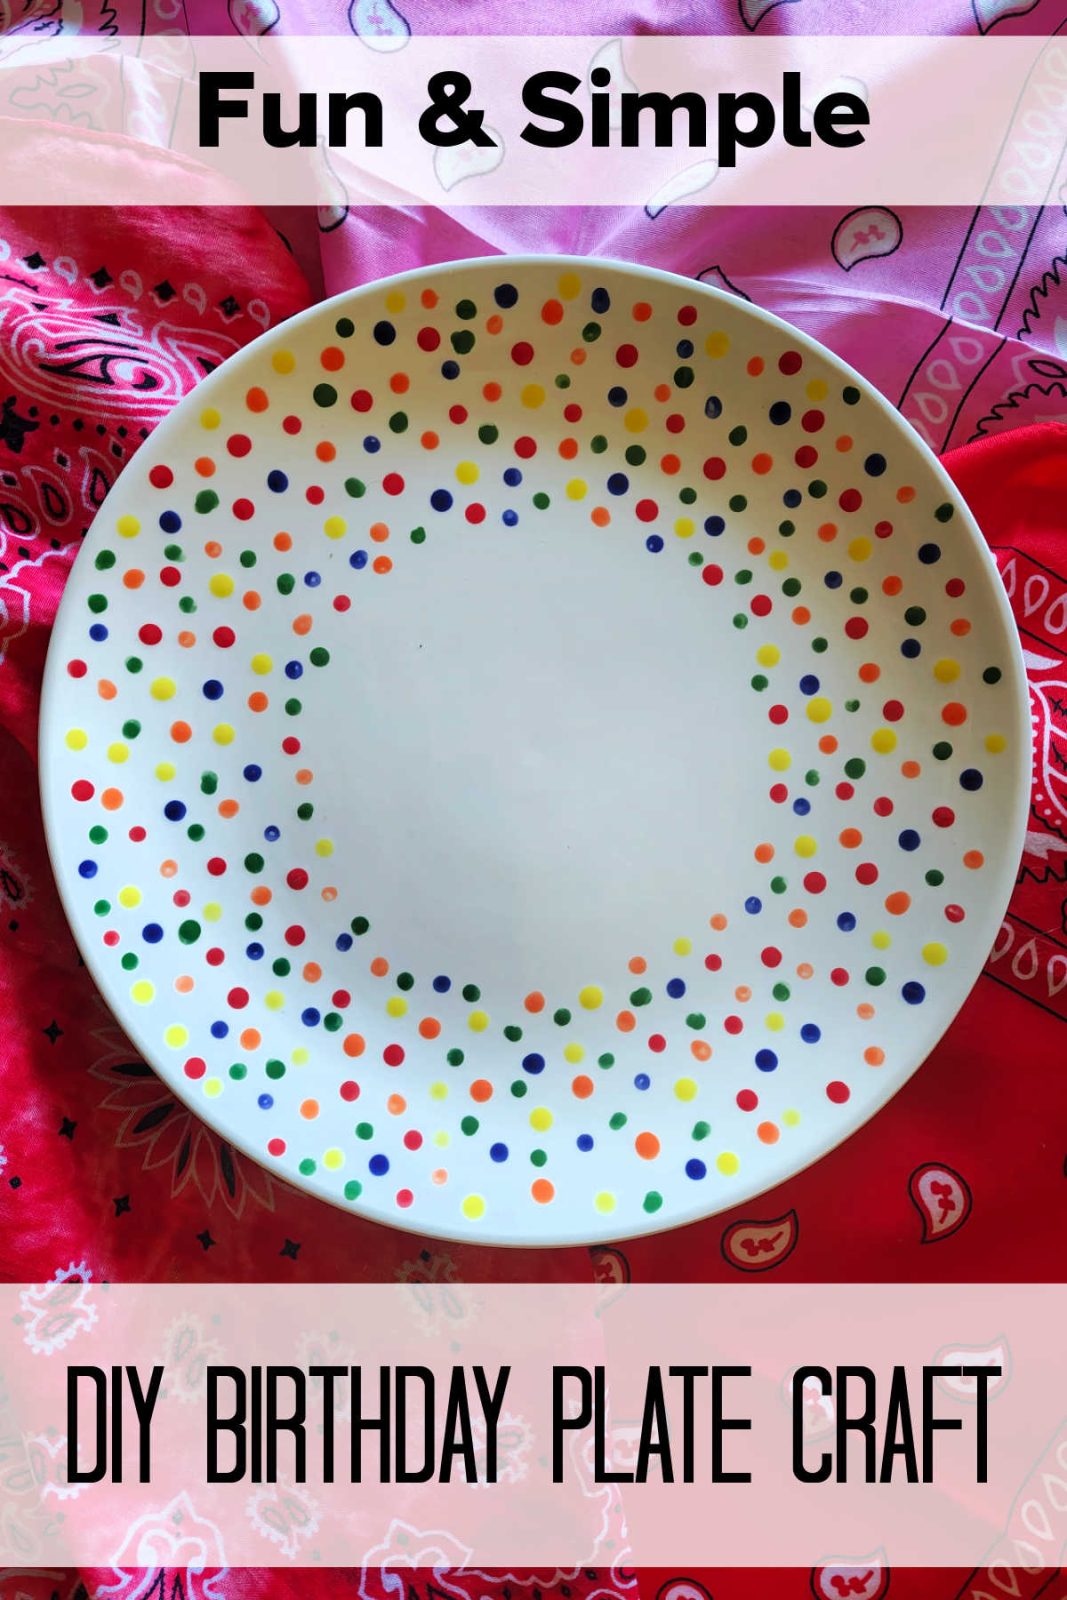
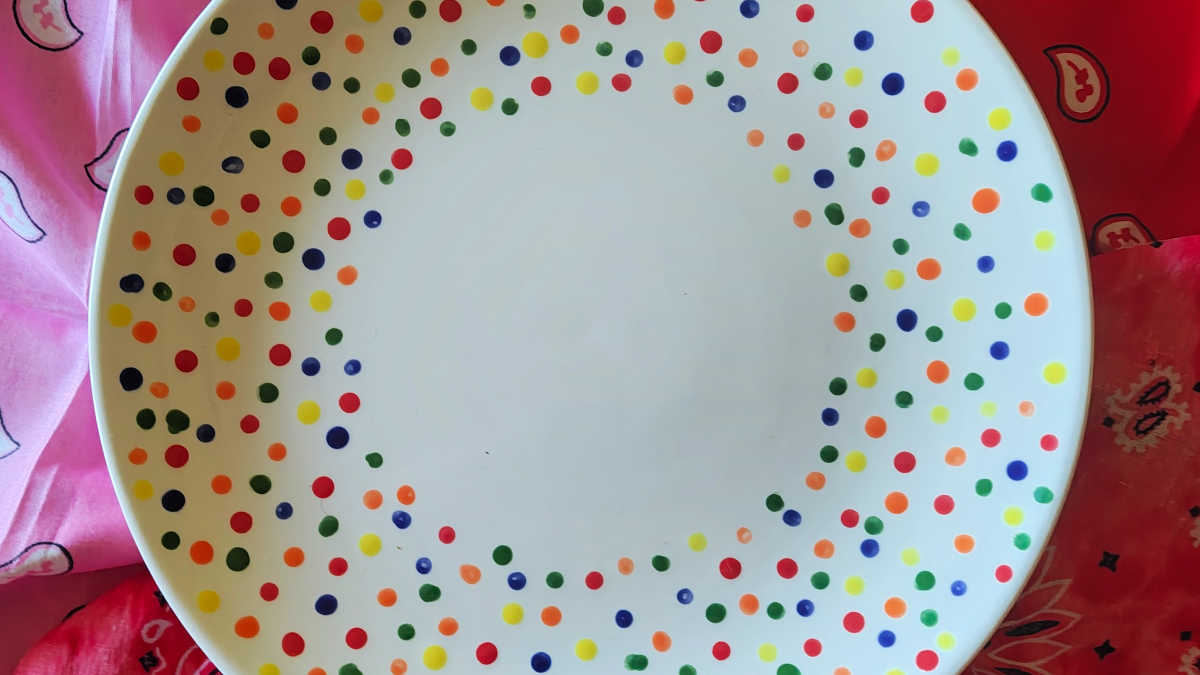
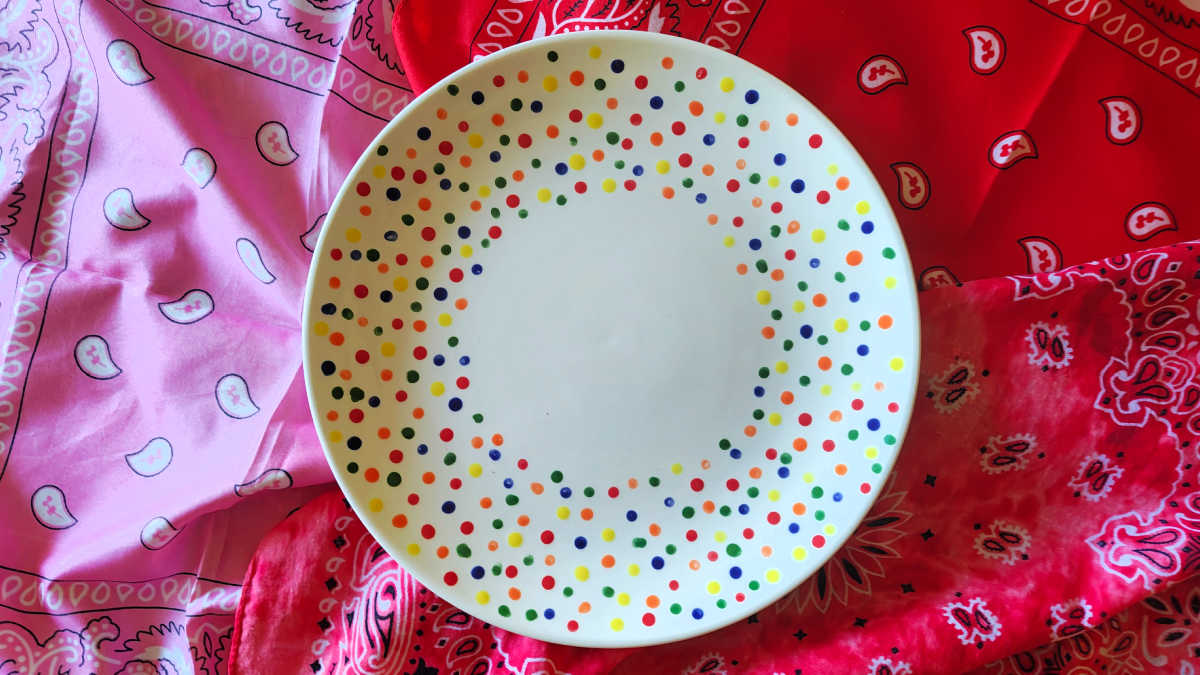
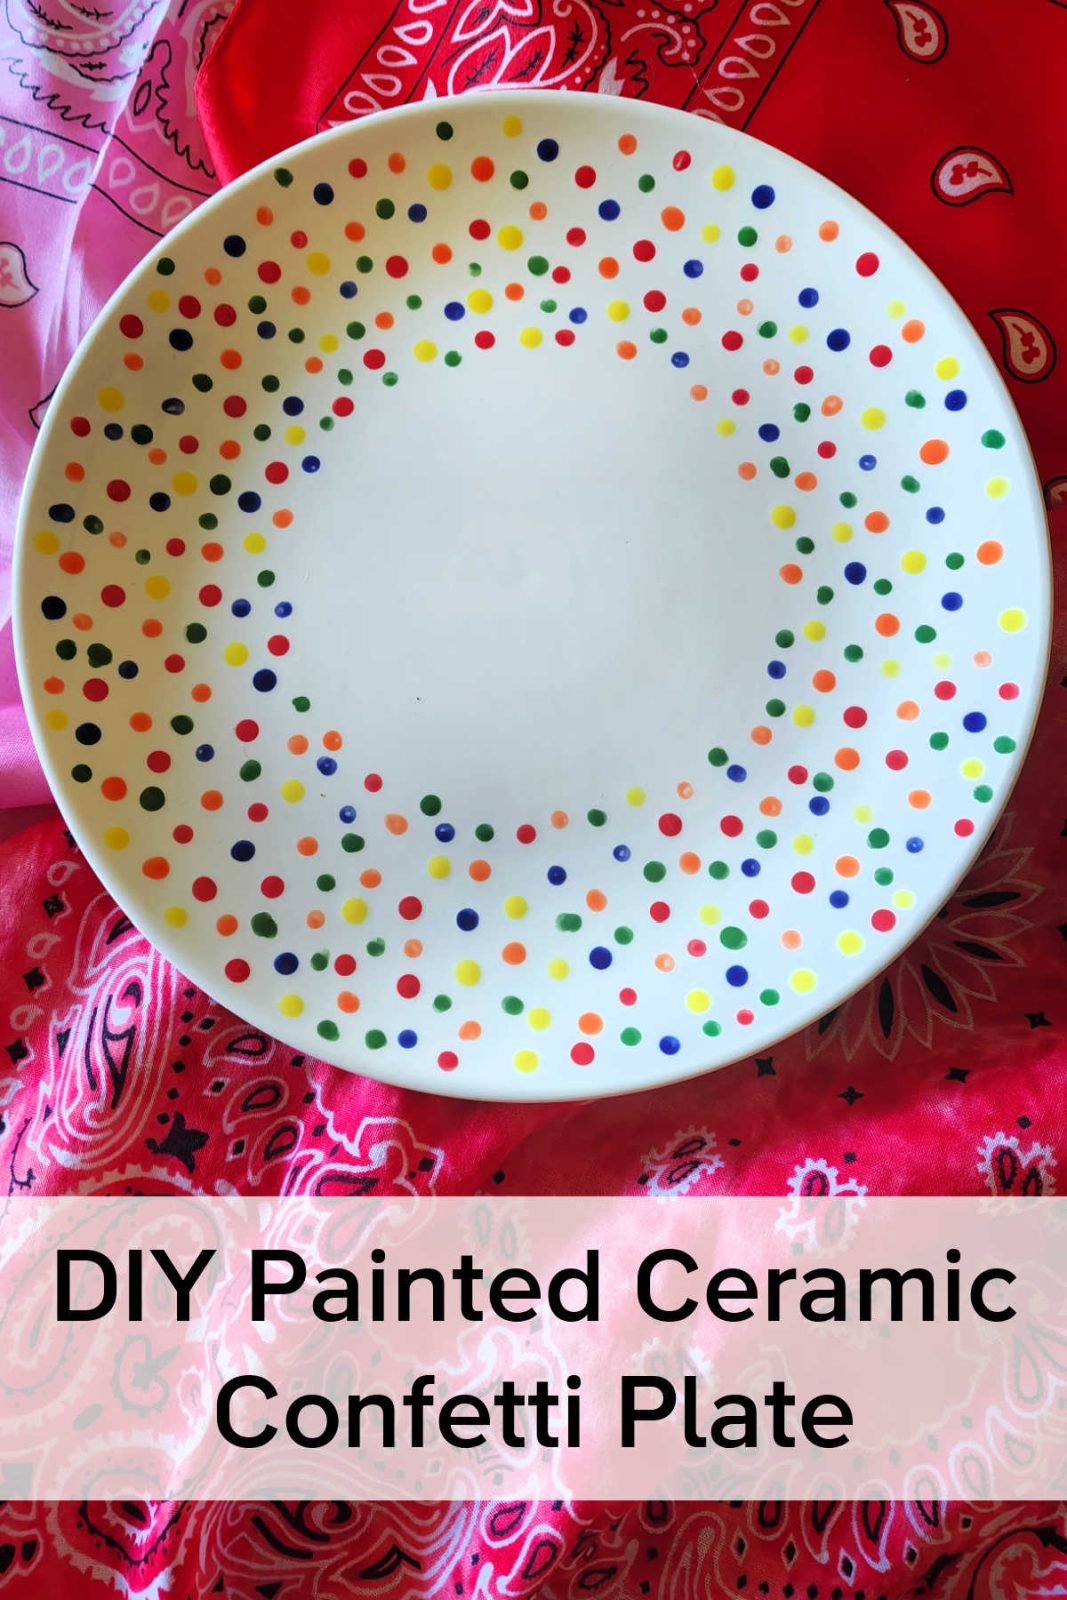
My large white plate features bright, bold, multicolored dots scattered all around the rim, leaving the center crisp and white just like party confetti!
We plan on using ours as a special family celebration and birthday plate.
You can stick with vibrant primary colors like I did, or switch it up with soft pastels, holiday-themed palettes, or even your favorite sports team’s colors.
Fun for All Ages and Skill Levels 😁
What makes this craft so wonderful is that it requires absolutely zero painting experience.
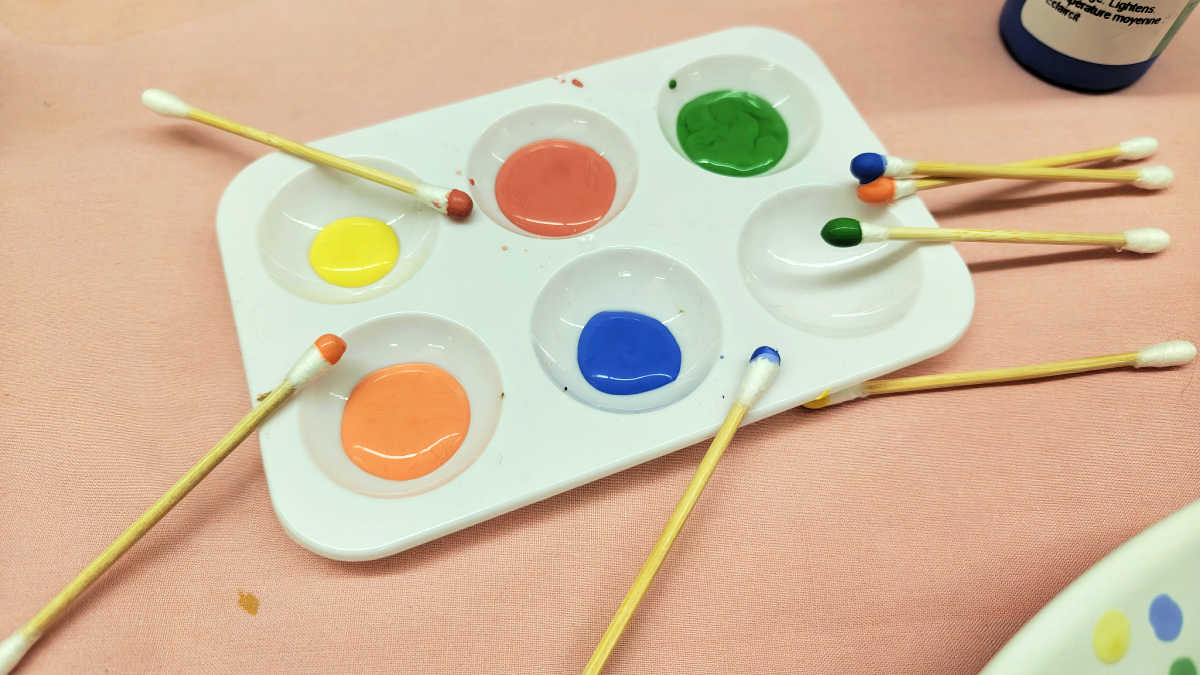
Using cotton swabs to apply the glaze gives you complete control over dot placement without worrying about steady brushstrokes.
The simple design is very forgiving, so mistakes are not really mistakes at all.
It is a fantastic project for toddlers, big kids, adults, and seniors to enjoy together.
Kiln Firing Options & Supply Tips 🔥
You can complete this project start-to-finish on your own if you have a friend with a kiln (I do!) or if you rent local kiln space.
Many local craft businesses and studios rent out space in their kilns.
I knew of a few in my area, but was pleasantly surprised by how many options were available once I searched for them!
If you only want to make a single piece, taking a pottery class that includes firing in the price is often the easiest route.
However, if you are making a full set of dishes or hosting a fun paint party with friends, purchasing your supplies in bulk and renting local kiln space is a very economical way to make beautiful, practical art.
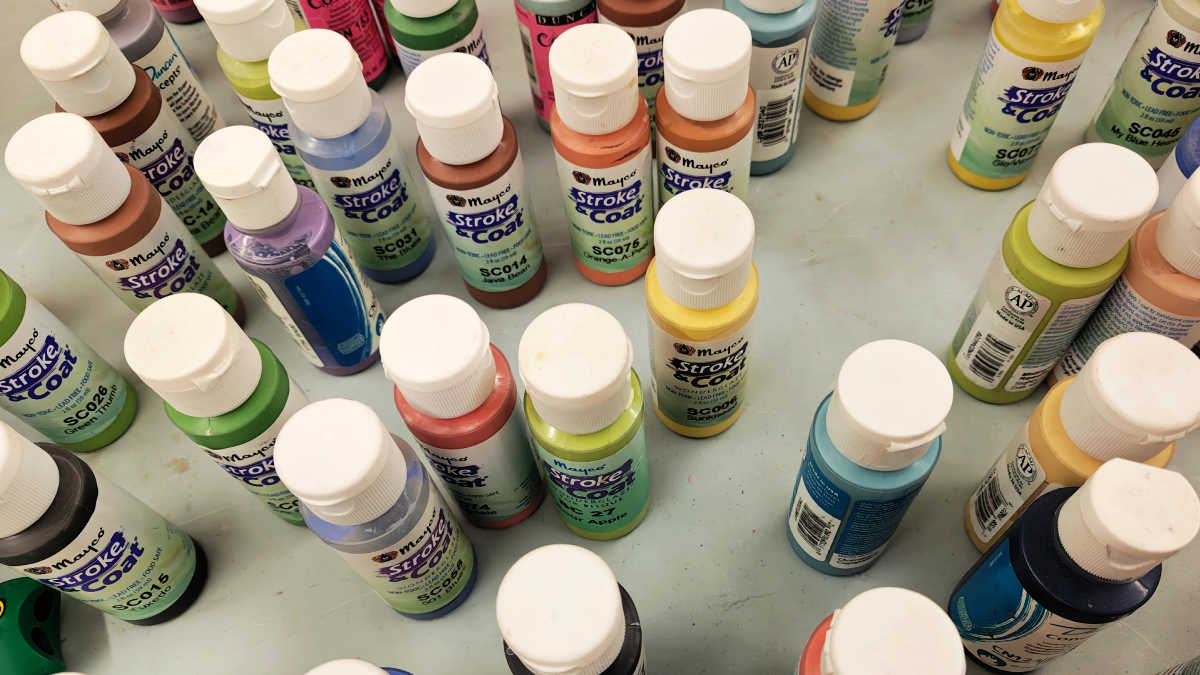
While other brands of earthenware plates and glazes can certainly work, I was extremely happy with the performance and bright finish of the Mayco supplies I used for mine.
🎨 DIY Painted Ceramic Confetti Plate
Materials 🖌️
- Mayco Earthenware Bisque Plate: Unglazed ceramic plate ready for painting.
- Mayco Stroke & Coat Wonder Glaze: Assorted colors of your choice.
- Cotton Swabs / Q-Tips: For stamping uniform dots.
- Paint Palette: To hold individual glaze colors.
- Clear Glaze: For topcoat protection.
- Paint Brush: For applying the clear glaze finish.
Instructions 📝
- Prep Your Palette: Choose your glaze colors and squirt a small amount of each onto your paint palette. Note: Glazes often look different in the bottle than when fired! Check your glaze color chart or search online to preview cured colors.
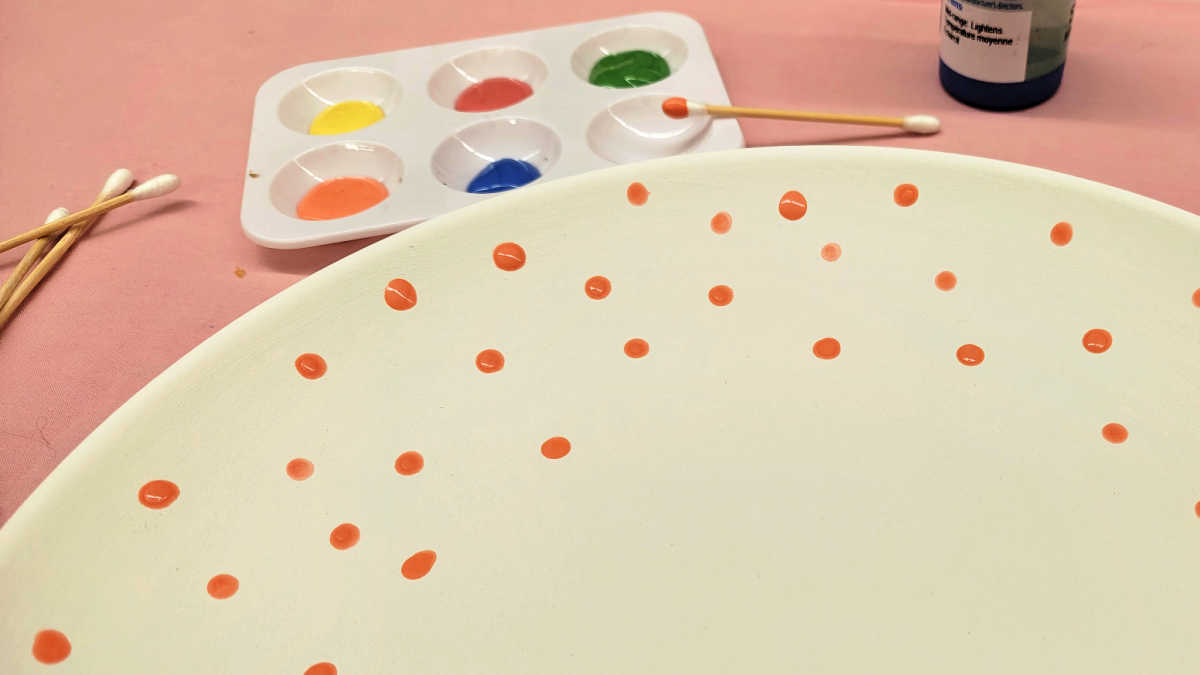
- Start Dotting: Dip a cotton swab into your first glaze color and firmly press it onto the rim of the plate to create a dot. Repeat this process (dip, dot, dip, dot) scattering your first color around the edge of the plate. Keep the center plain white.
- Add Additional Colors: Repeat the process with a fresh swab for each remaining color individually. Working one color at a time helps keep the overall design balanced.
- Check Balance: Step back and look at your plate. See if any spots look off-balance or need an extra dot, and fill them in as needed.
- Optional Additional Coats: For full color intensity, let the dots dry, then repeat with a second or third coat of glaze (2-3 coats is typical for ceramic glazes). Or, leave it with a single coat like I did.
- Clear Glaze: Allow all paint to dry completely. Brush clear glaze thoroughly over both the top and bottom of the plate.
- Fire in Kiln: Fire your completed plate in a kiln according to manufacturer temperature instructions.
🎨 More from Mama Likes This
Decoden Cream Glue Crafts 💖
- Hair Clips
- Mermaid Treasure Box
- Mermaid Hair Clips
- Coffee Hair Clips
- Coffee Hair Brush
- Hearts
- Pink Princess Hair Brush
- Mermaid Hair Brush
- Vacation Hair Brush
- Beach Vacation Hair Clips
- Vacation Memory Box
- Easter Eggs
- Graduation Keychains
- Graduation Hair Clips
- Patriotic Keychains
- Patriotic Hair Clips
- Neon Stars Hair Clips
- Glow in the Dark Hair Clips
- Glow in the Dark Pencil Box
- Halloween Hair Clips
- Halloween Hair Brush
- Gothic Hair Clips
- Gothic Hair Brush
- Apple Hair Brush
- Autumn Apple Hair Clips
- Fall Hair Clips
- Fall Hair Brush
- Christmas Fairy Door
- Santa Ornaments
- Christmas Ornament for Home Cooks
- Christmas Hair Clips
- Snowflake Hair Clips
- Christmas Tree Sign
- Christmas Gift Tags
- Grinch Ornament
- Christmas Hair Brush
- Sports Christmas Ornament
- Gift Tags for Foodies
- Baseball Ornaments
- Apple Christmas Ornaments
- Christmas Tree Ornament
- Football Hair Clips
- Mushroom Hair Clips
- Gummy Bear Hair Brush
Crafts Made with Tulip Paints and Dyes 🖌️
- Patriotic Painted Earrings
- Patriotic Bottle Craft
- Red, White & Blue Painted Appetizer Forks
- Painted Rainbow Heart Craft
- Rainbow Painted Earrings
- Upcycled Oui Jar Rainbow Craft
- Tye Dye Gifts for Family and Friends
- Googly Eyes Appetizer Fork
What will your family make first?