![]()
Nightmare Before Christmas Craft
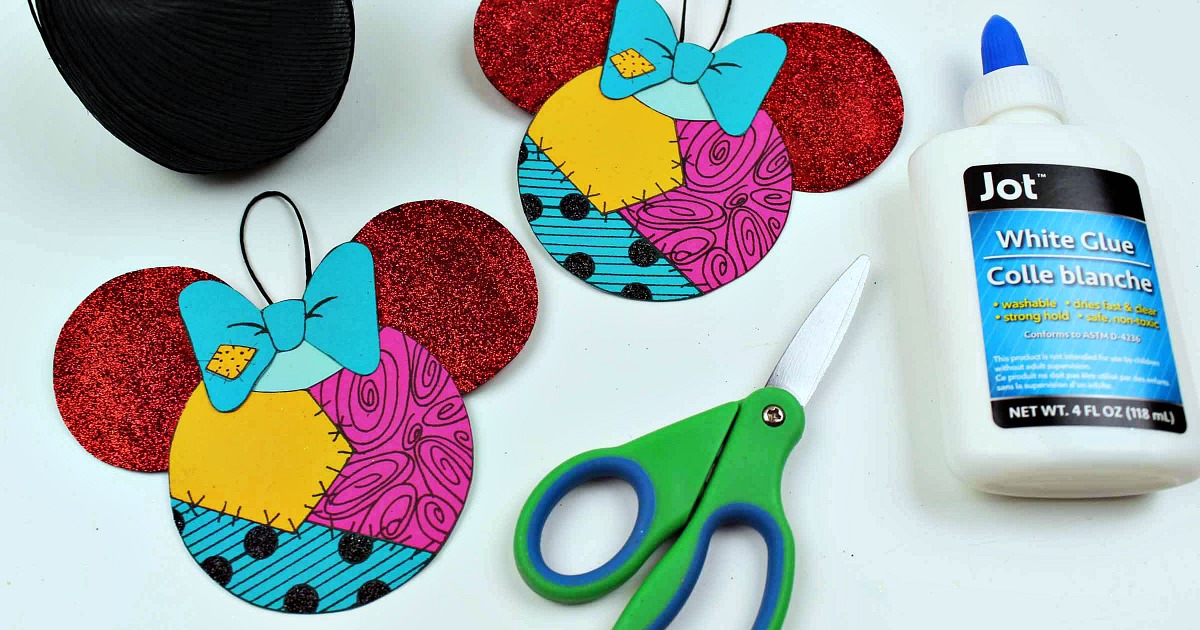
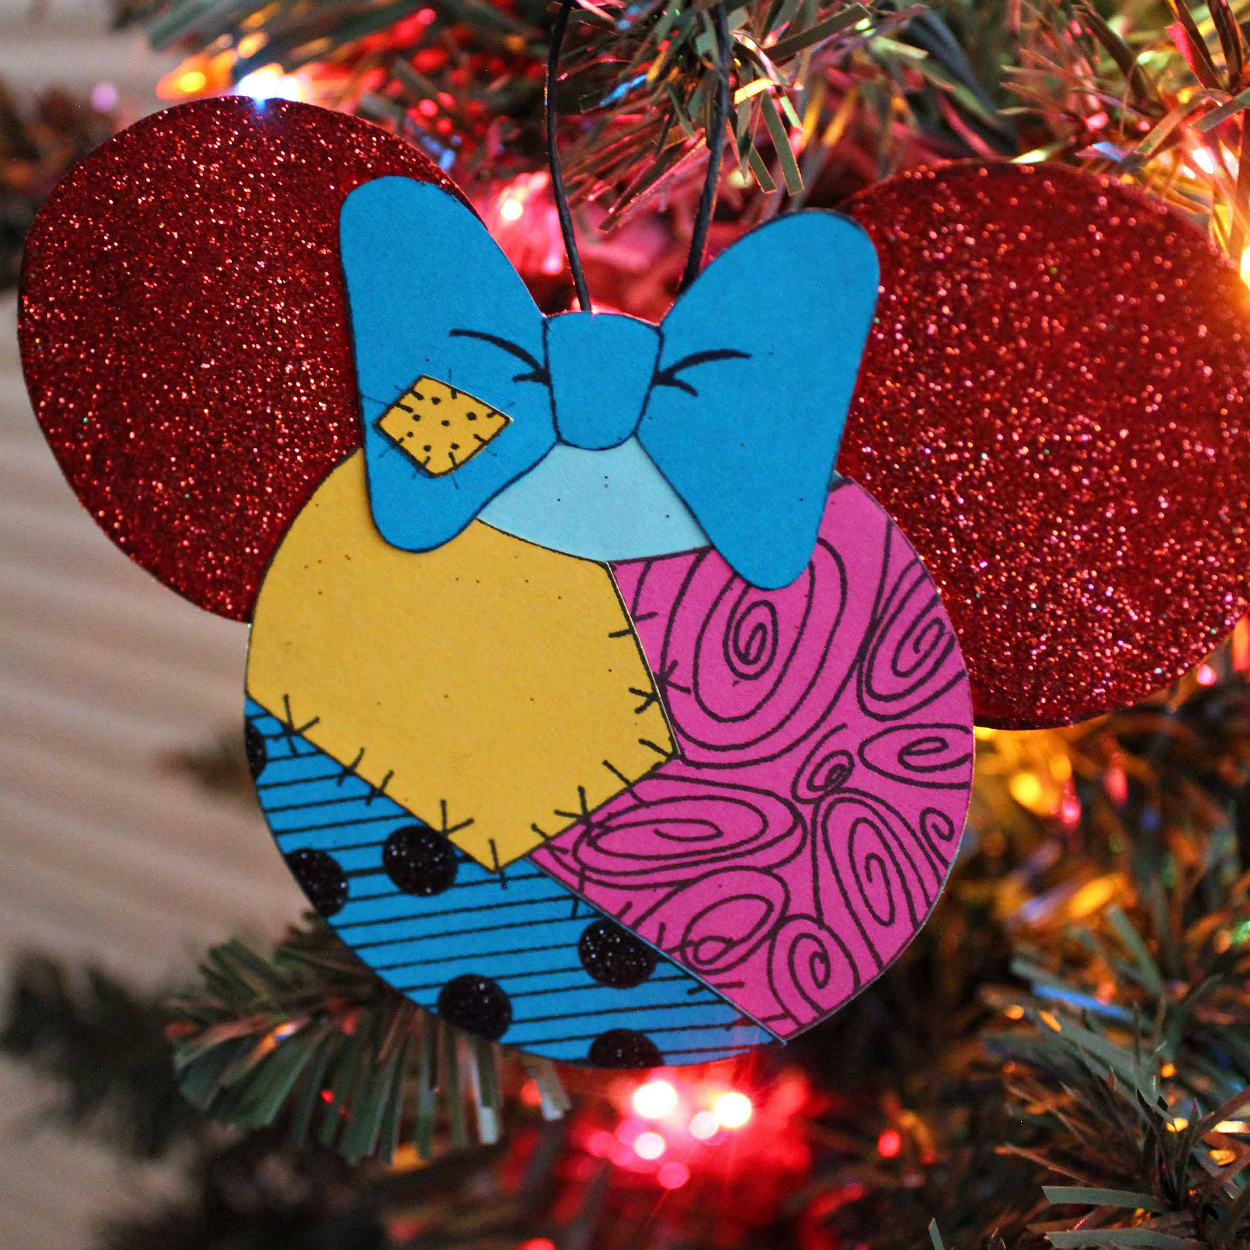
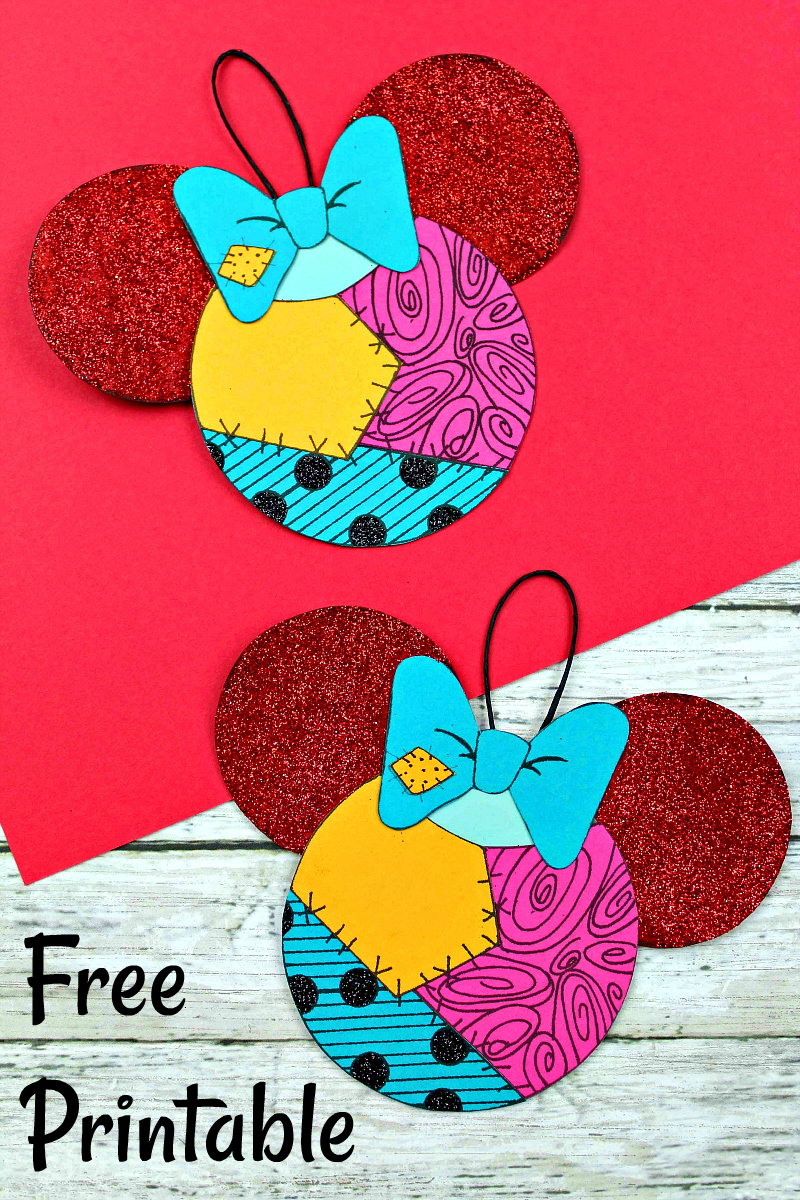
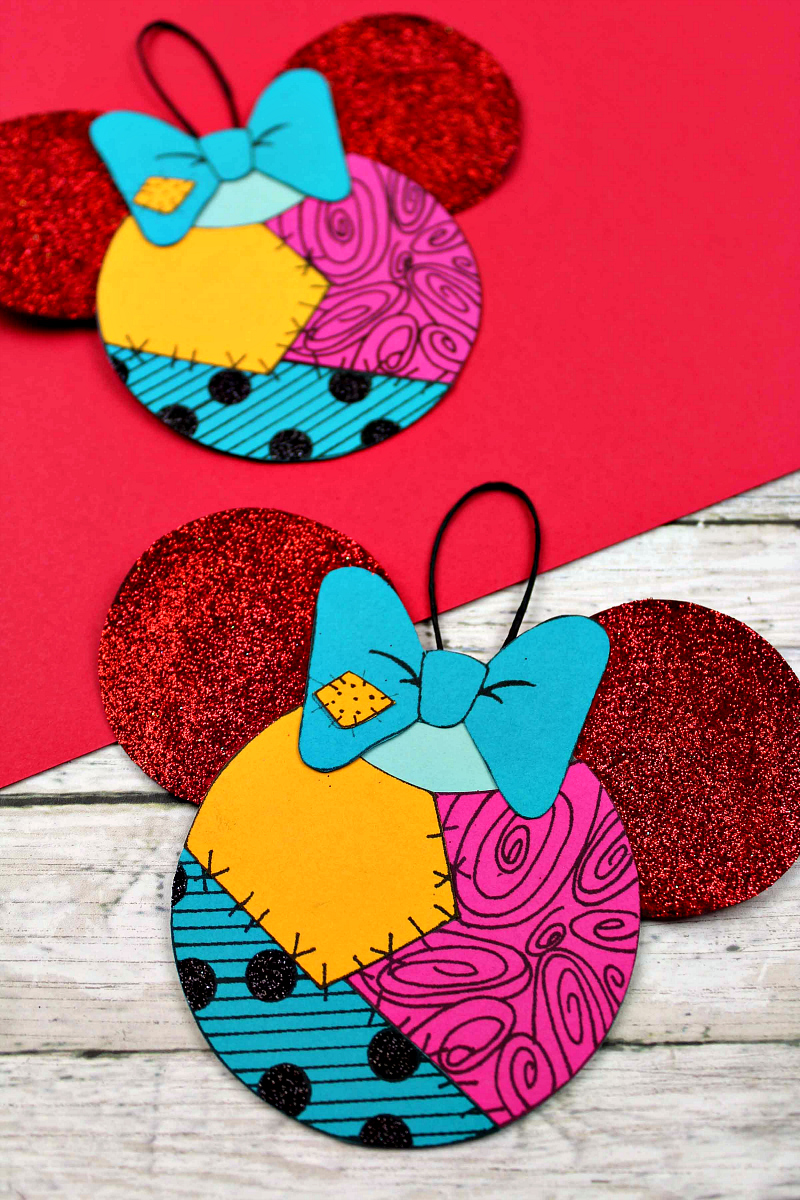
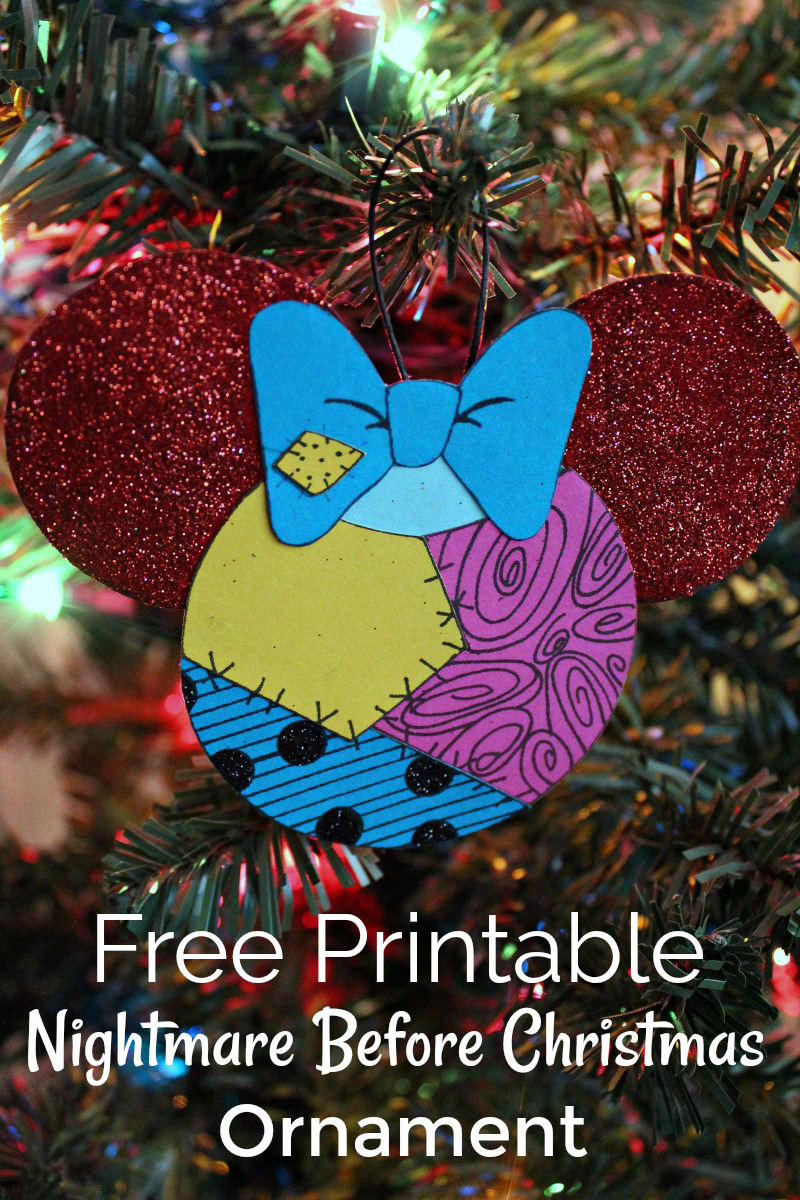
Tim Burton’s Nightmare Before Christmas is a family favorite, so I am really excited about this adorable free printable Sally ornament craft.
It is easy to make and it looks fantastic!
These Disney movie characters can be displayed from before Halloween all the way through until Christmas.
This ornament combines Sally’s patchwork dress with traditional Mickey ears, so it is perfect for Disney fans.
Sally is one of my favorite characters in the movie.
Despite her situation, she is wise, compassionate and devious.
Her love for Jack is pure, even though they are both flawed individuals.
And that is how love should be.
Jack Skellington: Sally! I need your help most of all.
Sally: You certainly do, Jack. I’ve had the most horrible vision!
Jack Skellington: That’s splendid!
You can make one ornament by yourself or you can turn this into a group activity with family or friends.
There are no difficult techniques involved and the supplies are basic.
Little kids may need some assistance with cutting or gluing, but bigger kids and adults will have no problem at all assembling Sally.
If you are having company over for the holidays, set up a craft table with supplies.
Then your guests can have fun with this Disney DIY project.
Printable Sally Ornament
Supplies
Cardstock (Red, Light Blue, Teal, Yellow, Pink)
Glue Stick
White Glue
Scissors
Black Twine or Ribbon
Glitter (Red and Black)
Instructions
1) Download the free printable template.
2) Print each of the 7 pages of the template on the correct color of card stock. The color is listed at the top of each page. You’ll have extra pieces, so you can make more than one.
3) For each Sally ornament, cut out 2 round red ears, 1 light blue head, 1 teal bow, 1 small yellow bow patch, 1 bigger yellow head patch, 1 teal head patch and 1 pink head patch.
4) First, glue the red ears behind the light blue head.
5) Second, glue the yellow, teal and pink patches to the light blue head.
6) Then, glue the teal bow in place and affix the little yellow patch to the bow.
7) Add white glue and glitter to any of the areas you’d like to sparkle. The samples have red glitter on the ears and black glitter on the polka dots. You can add more or less glitter to suit your own style.
8) Make a hanger by looping a piece of twine and gluing it to the back of the ornaments.
9) Let it dry completely, and then it is ready to hang.
Halloween Crafts
- Haunted House Craft
- Bat Picture Frame Craft
- Halloween Bat Craft
- Bride of Frankenstein Craft
- Grim Reaper Craft
- Happy Pumpkin
- Zombie Craft
- Jack Skellington Nightmare Before Christmas Craft
- Silly Monster Craft
- Pumpkin Child Craft
- Wizard Craft
- Werewolf Craft
- Mad Scientist Craft
- Disney Frankenstein Craft
- Devil Child Craft
- Jack Skellington Ornament
- Lion King Mask Craft
![]()
