
![]()
DIY Santa Claus Christmas Ornament 🎄🎅🏼🤶🏼🧑🏼🎄

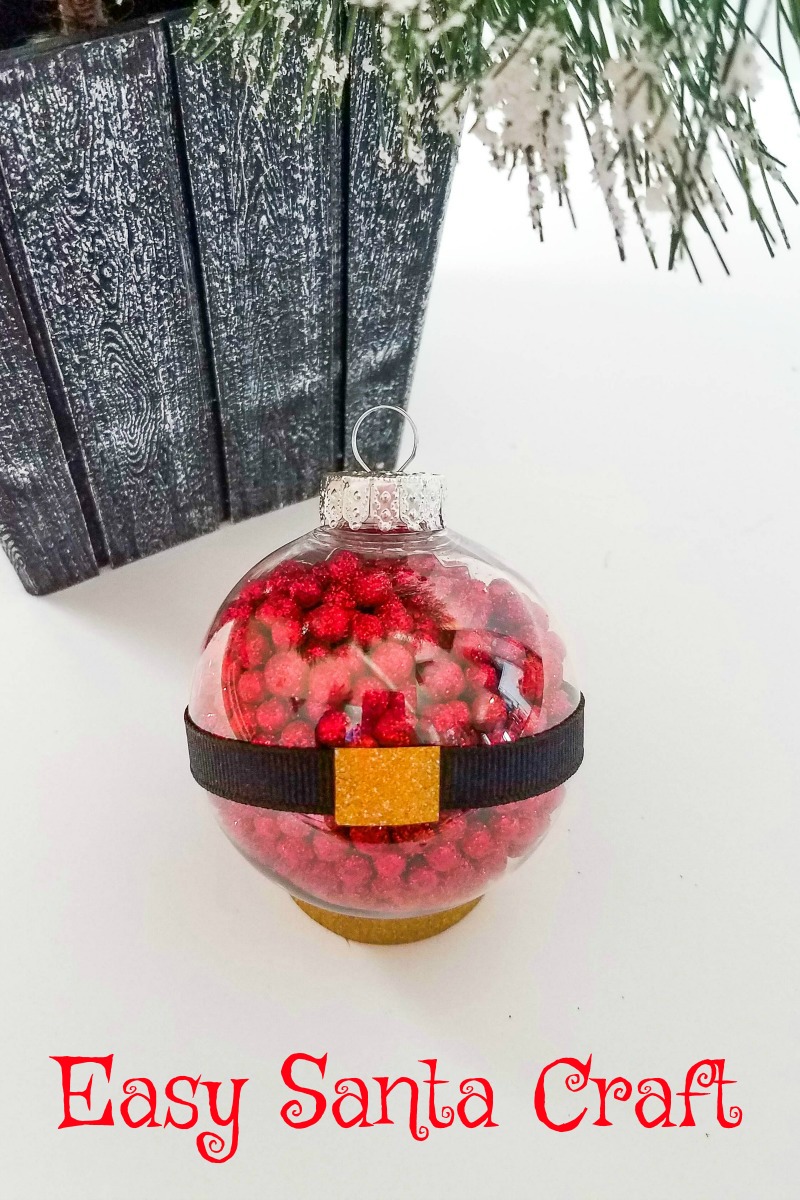
When you want to make something truly festive for the holidays, create this adorable and easy Santa Ball Ornament Craft!
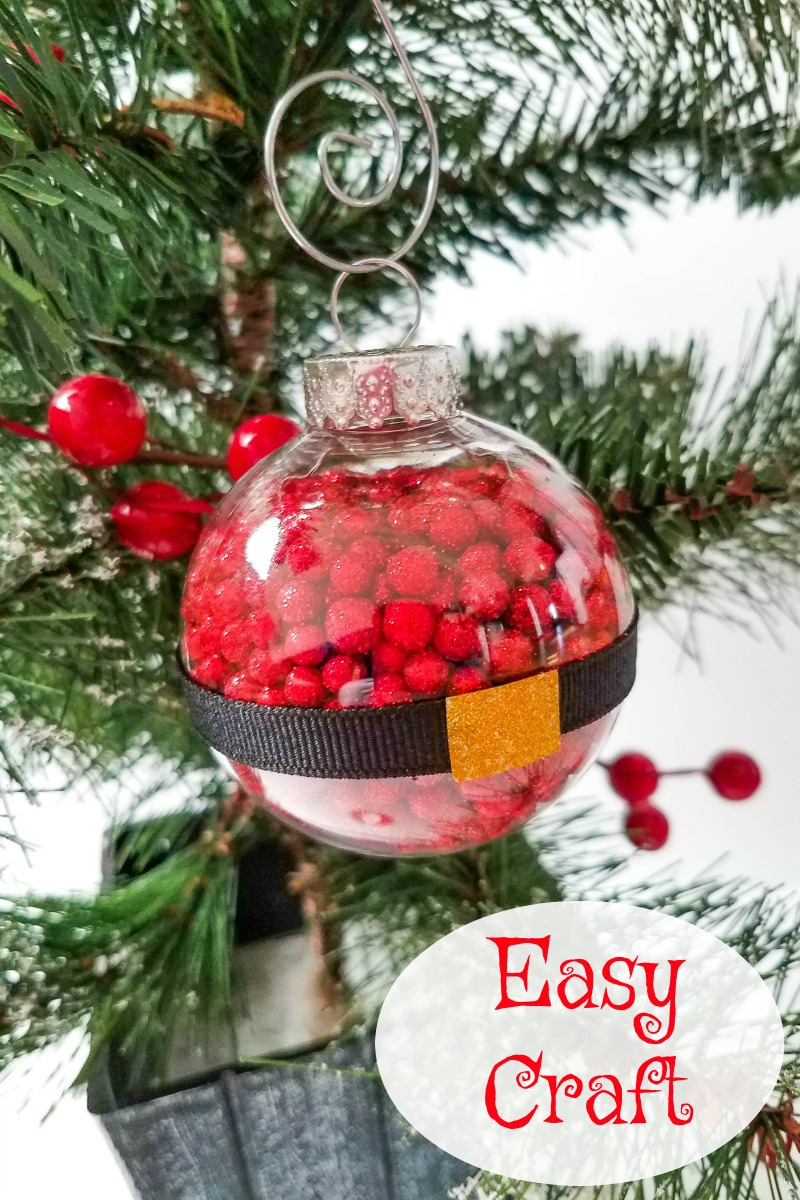
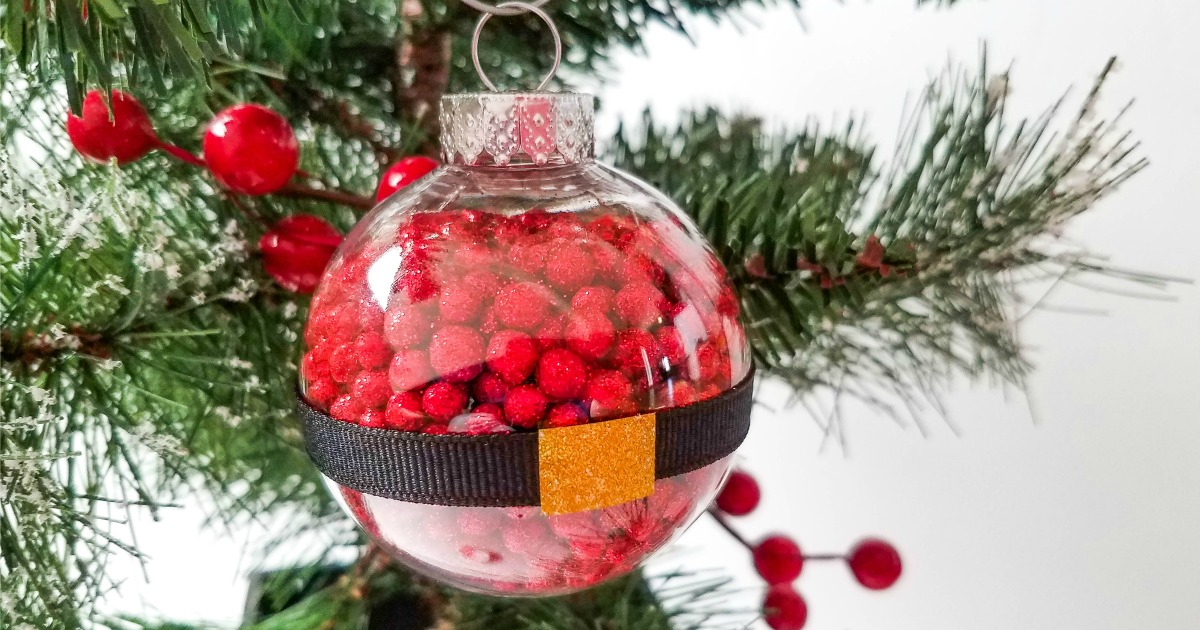
This project is a simple way to transform a clear plastic ornament into a cute, shimmering Santa Claus suit, complete with his iconic belt and buckle.
The craft is perfect for both adults and children.
Little ones will enjoy filling the ball with the glittery red pom-poms, while older crafters will master the precise application of the ribbon belt.
Make one unique ornament for your tree or set up a family craft table to make a whole batch of these festive keepsakes!
Making it Fun for All Ages 🧑🎄✂️
This simple craft is ideal for family crafting sessions, allowing different age groups to take on different parts of the project.
Role Assignments for Crafters
- For the Youngest Kids: Task them with the fun part – pouring the red glitter pom-poms into the ornament ball! This is a great fine motor skill activity. 🎈
- For Older Children: They can handle the scissors to cut the black ribbon and the small pieces of gold washi tape for the buckle.
- For Adults/Teens: The adults should handle the secure placement of the ribbon and the delicate application of the glue dots, ensuring the belt is straight and durable.
Creative Swaps and Ornament Care 🌟💡
You can easily customize this Santa craft with different fillers and ensure your creation lasts year after year.
Swapping Out the Fillers
If you don’t have red glitter pom-poms, try these other festive fillers:
- Red Confetti or Sequins: Use these for a shimmery or lightweight fill.
- Miniature Cranberries: For a more natural or rustic look, use small faux cranberries (not fresh ones, as they will degrade).
- Colored Beads: Fill the ball with small red glass or plastic beads for a heavier, more luxurious appearance.
Long-Lasting Ornament Care
- Secure the Cap: After filling the ornament, put a small drop of hot glue (or super glue) inside the cap before replacing it. This prevents the cap from coming off the ball, which is especially important if you plan to store and reuse the ornament every year.
- Storage: Store your finished Santa ornaments in a container with tissue paper to protect the the ribbon belt from getting crushed.
🎅🏼Santa Ball Ornament Craft Checklist
✂️ Materials
- Clear Plastic Ball Ornament
- Small Red Glitter Pom-Poms (or other red filler) 🔴
- 1/4″ Wide Black Ribbon (long enough to wrap the ball)
- Gold Glitter Washi Tape
- Glue Dots (or a strong craft glue)
- Scissors
📝 Instructions
- Measure the Belt: Wrap the black ribbon around the middle of the plastic ball ornament. Cut the ribbon where the ends meet.
- Secure the Ribbon: Place three small glue dots onto the ribbon (one on each end and one in the middle). Press the ribbon firmly into place around the middle of the ornament.
- Create the Buckle: Cut a small 1/2-inch piece of the gold washi tape. Place a glue dot on the back of the tape piece and position it over the point where the ribbon ends meet to create the belt buckle.
- Fill the Ball: Remove the metal cap/hanger from the top of the ornament. Fill the plastic ball cavity with the red glitter pom-poms until the ball is full.
- Finish: Replace the cap securely on the ornament. Your Santa ornament is ready to hang on the tree or be wrapped as a beautiful gift topper! 🎁
Ready to Create a Festive Keepsake? ⬇️
This easy Santa craft is a delightful activity for kids and results in a stunning, personalized ornament for your tree.
Don’t forget to use the tip about securing the cap for long-lasting results!
Will you stick with the classic red pom-pom filling, or will you try a glitter or bead swap?
More from Mama Likes This
Free Christmas Printables
- Christmas Scattergories
- Christmas A to Z
- Santa’s Word Scramble
- Christmas Word Search
- Christmas Tree Coloring Page
- My Christmas Wish List Coloring Page
Santa Crafts
- Cream Glue Santa Ornament
- Santa Ball Ornament
- Printable Santa Mickey Ornament
- Printable Santa Jack Skellington
- Accordion Leg Santa
- Accordion Leg Mrs. Claus
Ornament Craft
- Christmas Tree
- Apple
- Baseball
- Sports
- Grinch
- Chef
- Santa
- Christmas Candy
- Superstar
- Christmas Bell
- Fruit Bell
Gift Tag Crafts
- Fruit Gift Tag
- Wallpaper Gift Tags
- Cream Glue Gift Tags
- Flower Gift Tags
- Wood Tag with Buttons and Beads
- Team Colors Gift Tag
- Unfinished Wood Valentine Gift Tag
- Washi & Beads Initial Gift Tag
- Washi Christmas Tree Gift Tag
Free Printable Gift Tags
- Peppa Pig Christmas
- Peppa Pig All Occasion
- Zootopia English
- Zootopia Spanish
- Happy Holidays
- Christmas Ornaments
- Shaun The Sheep
- The Book of Life
- Rio
- Monsters University
![]()